As promised, her is the tutorial for the pinned muscle tank that I wore to Breakfest! If you missed my inspiration, you can find it here and if you missed the outfit post you can find it here.
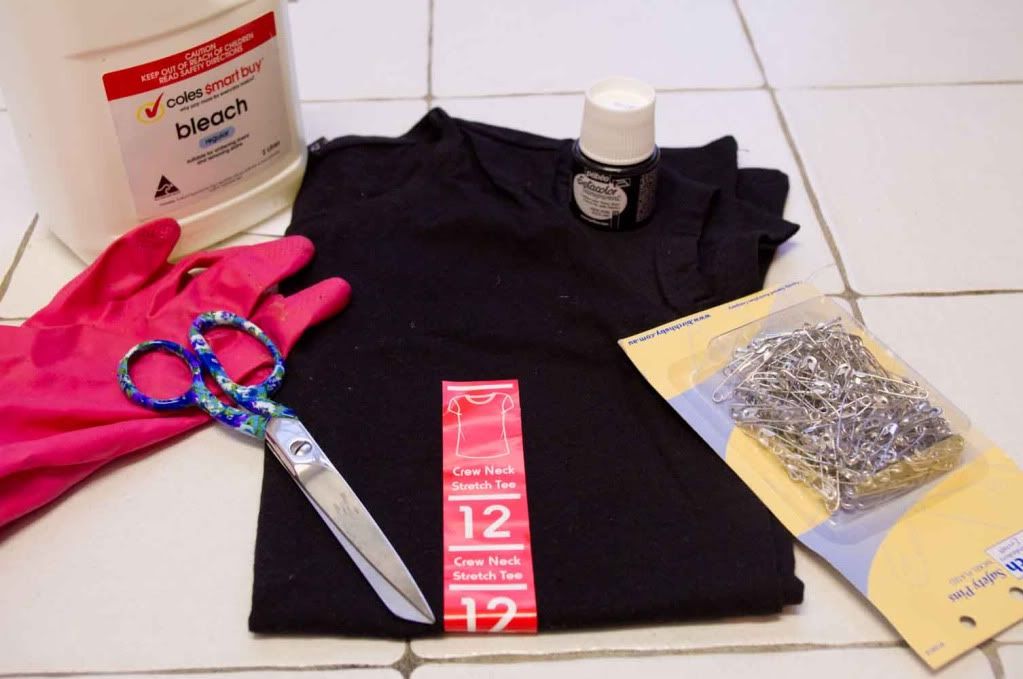
Most things needed for this DIY are household items which is why I love it so much! I realised that I needed more items than those pictured above, so here's the list:
You will need:
A black crew neck T-Shirt (I got mine for $7 from Kmart)
Safety pins
Fabric scissors
Rubber gloves
Bleach
Black fabric paint
A ruler
A sponge
Sticky tape
A4 paper
An old cloth
Newspaper
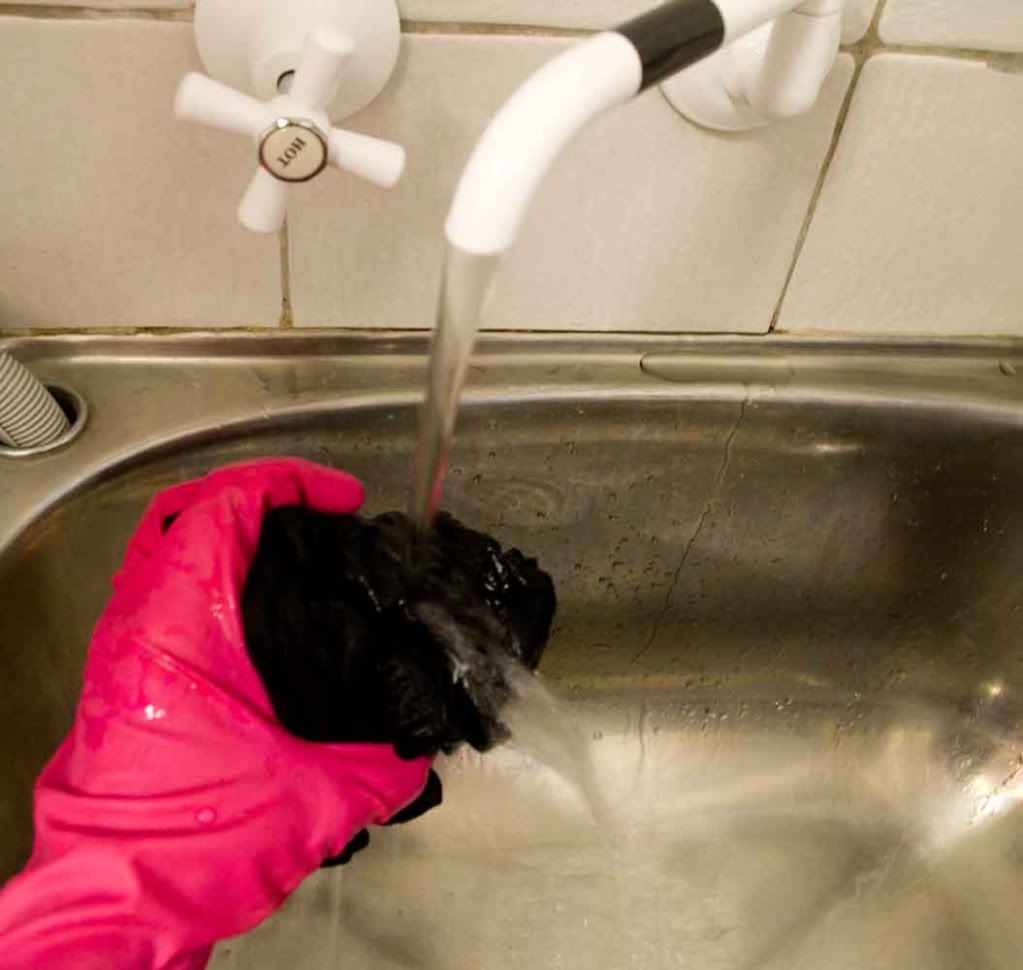
1. Wash.
Get you T-Shirt nice and wet.
2. Bleach
Use an old cloth to rub the bleach into the top. Apply the bleach haphazardly to give more of a washed look. Then hang out the T-Shirt and let the bleach do it's thing. Keep a close eye on it because the colour will change quickly. When you're happy with it, throw it in the wash.
3. Dry and cut
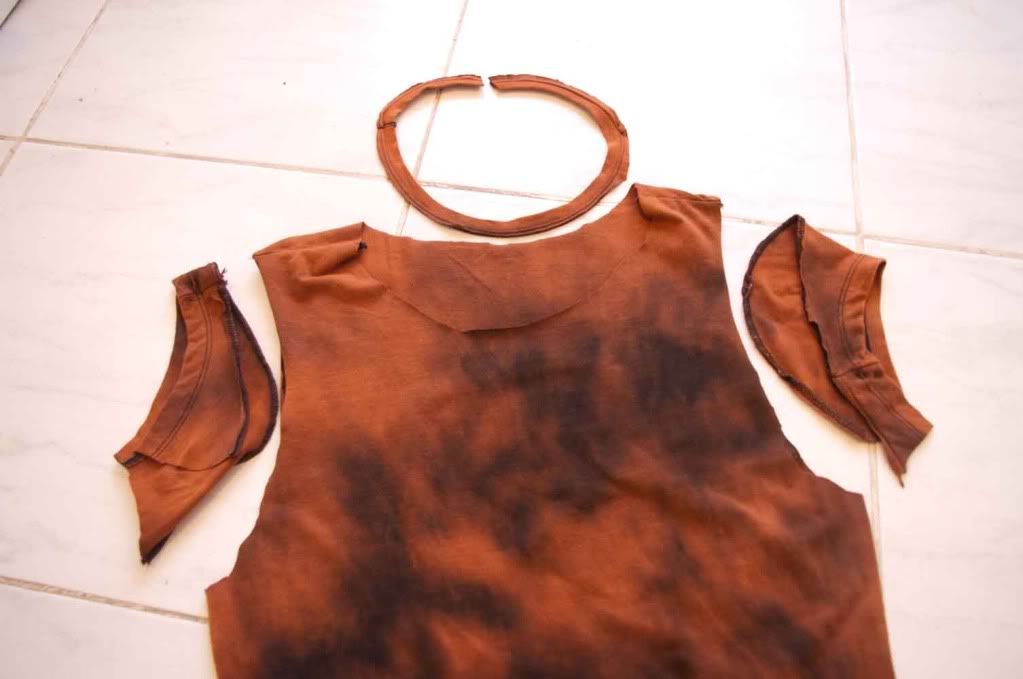
Hang your top out to dry - and admire the DIY "washed look" that you've created! It's now time to get cutting. Cut the sleeves off just past the seem - because it is a jersey fabric, you don't need the stitching as it won't fray.
Do the same for the neckline.
5. Make your stencil
I used the width of a 30cm ruler to make my cross. Mark it out with a pencil on A4 paper and cut it out. Position it onto your T-Shirt.
6. Sticky tape and sponge
Secure your stencil with sticky tape. Use a sponge to apply the fabric paint over your stencil. Don't forget to position newspaper inside your top to prevent bleeding on the other side. You'll also need to iron your paint on after it's dried so it doesn't come off in the wash.

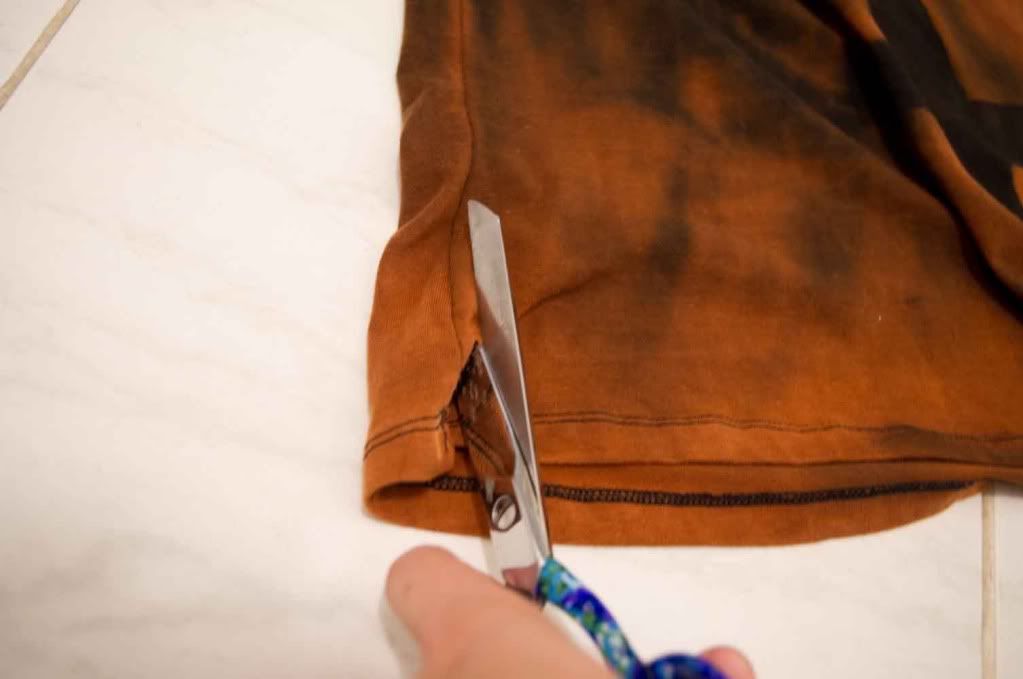
7. Cut along the side stitching
Now start making room for your pins. Simply cut out the stitching on the side of your tank.
7. Pinning
Now pin it back together. I put a hard book under the fabric to make it easier to line up the two edges. Pin it all the way to the top. Repeat on the other side of the T-Shirt.
8. Finished!
And there you have it! Please let us know if you give it a go - or if you've tried your own spin on it! We would love to see some pictures of your own creations :)
Kaye xx


that's very cool! it looks great!
ReplyDeleteLeftbanked.
Great Idea!!
ReplyDeletehttp://www.mythriftychic.com/
This is amazing and the result looks so professional!
ReplyDeletehttp://styleservings.blogspot.com/
Ridiculously awesome! I love this... I want one of my own! it would be pretty sweet with bronze or gold safety pins too :)
ReplyDeleteCreative missy!
omg I love this! Such a cute and clever diy. I just randomly came across your blog and I could sit here all day. Great posts!
ReplyDeletehttp://blondehaus.blogspot.com
looks awesome! love that you spray painted the crosses on!
ReplyDeletewww.thestylemaponline.com
awesome!!! i need to do more DIY's xx
ReplyDeleteThis looks so cool! Are you sure you don't belong as a teenage rockstar of the 90s? haha :)
ReplyDeletexx S
beyond talented! :)
ReplyDeletedamn! i love what you've done! so creative:)
ReplyDeletehttp://spliffedcookies.blogspot.com/
Wow.. that's a lot of work...but it's worth it!
ReplyDeletexo
Ev