Showing posts with label challenge. Show all posts

June 23, 2012

Marni x H&M challenge

The Marni x H&M challenge complete!
Photobucket Photobucket Photobucket Photobucket


Kassy's Outfit
(Blazer: Topshop. Shoes: Asos. Tank: Agent 99)

I was so excited to see these pants finally arrive on my doorstep after their looooooong flight from Berlin! I'm so lucky to have a sister on the other side of the world who understands what its like to have a fashion itch that needs to be scratched. When I visited mahaila in Berlin, I was so jealous to see she had easy access to some amazing stores...my favourites were the Acne store and All Saints store... not to mention the amazing boutiques we visited that were unlike anything in Australia. But it was even her accessibility to H&M that made me jealous. Sure, something from H&M may not be special to some people.... but the story behind these pants epitomizes what this blog is really about... sharing fashion inspirations from across the globe :)


Photos: Michael Dooney


Mahaila's Outfit
 
I wanted to send the Marni pants off to Kassy as quickly as possible so I challenged myself to make a top in an hour. I had this black lace type fabric which I purchased in Potsdam at the travelling Fabric market. I played around with the hem and shaped it to suit the style of the pants. It was quite the adventure walking with these pants on. The crotch sits at a strange position on me, so walking up stairs was quite difficult. I think that Michael found it quite amusing. 

Thanks to Kassy for the challenge. Consider the challenge of the Marni pants compete!   


February 19, 2011

The story of the mahaila knitted shorts: a labour of love..... and tears


After months of knitting, unravelling, constructing, elation and tears I have completed the mahaila designed shorts. They are now on a journey, travelling from Berlin to Perth. Kaye, consider Challenge number 3 complete!

THE STORY OF THE SHORTS
Making these shorts was a complete challenge for me. OK so I can knit, but to design the garment was quite tricky for the amateur knitter. I ended up making 3 pairs of shorts (2 were unravelled) 

In late June, Kaye suggested that I knit some shorts for a challenge. Starry eyed mahaila accepted the challenge with enthusiasm.
In July 2010 I went to my favourite yarn store in Berlin, Loops. I bought a few balls of GGH Java black yarn and was very excited to start the challenge. I struggled to find a pattern, but eventually found a 'rainbow shorts pattern'.  

 After completing 1/4 of the rainbow shorts, I came to the conclusion that perhaps they weren't going to work out as well as I had wanted. So I searched and found another pattern by the knit designer Craig Hunter, Gam shorts. 


After realising that I needed more yarn, I discovered that the GGH Java yarn had been discontinued. So I searched a number of stores in Berlin with little luck. At this point I was desperate to find the right yarn. Luckily a lady at loops searched and searched for black Java yarn, where she found the last 3 balls. YAY!
As you can see from the photo above, I had nearly completed these shorts when I came to the conclusion that perhaps these shorts were too big. The shorts had taken me weeks to make and I learnt the hard way that you have to keep trying the shorts on every so often. But I did learn a lot with this pattern. E.g. shortening rows and working in the round. With much regret, I unravelled these shorts.   

I then searched and found the studio shorts pattern on ravelry by Elisha Laubacher. After reading articles by knit designers I decided to have a go at making something based on the pattern I wanted, to ensure that it would work. So I ended up making a coral neck brace thing (which you will be able to see in a later post).I then utilised the studio shorts stitch count when creating the ribbing at the bottom of the legs. I added 10 stitches on each leg and started on my cabling/moss pattern. I was concerned that they would not fit because I did not know how the cabling would effort the fit of the shorts. I frequently placed the stitches on salvage wool, so that I could try them on. Luckily everything seemed to go along smoothly. 
 In January 2011, the shorts were completed in Berlin! YAY!. 
Today I they were sent via registered post to Kaye in Perth. Fingers crossed they get there!


Wrapped up and ready to go


PLEASE get there in one piece mahaila shorts!

I definitely had a love hate relationship with these shorts. I feel that I have learnt a lot from them and I am currently working on a 1930's knitted swim suit. Fingers crossed these will work out as well as the shorts!

Watch this space: Soon we will both be posting our photos with the shorts.

January 21, 2011

CHALLENGE NUMBER 3............. in progress


THE FRONT SECTION

THE BACK SECTION


Yes we have had a challenge drought. It has been a long time since the first two....but I feel that I do have an good excuse. 

The challenge set by kaye for mahaila was to knit some shorts inspired by stolen girlfriends club....admittedly this was more then a few months ago.  After a number of failed attempts I have finally found myself on a winning path....(kaye I promise to finish your Christmas present soon....see! you can now see the progress)

So I feel confident in sharing with you the shorts in their current unfinished state. My first knitted mahaila design. 

I will fill you in on the entire story when I finish these .... hopefully that won't be far off.

December 17, 2010

SPAIN: revisiting no. 2


 Picos De Europa

Las Medulas

The second stop on the Spain revisit features the mountains in Picos De Europa and the unnaturally natural Las Medulas. We found extreme luck when the sun was just peaking over the mountain side and the clouds intermittently dispersed across the blue sky. It was pretty windy and quite cold... but it was all worth it. Las Medulas is an amazing place too. These red hills were actually formed by the Romans. They built a water system to mine the land for gold and consequently carved the land into hills and caves. This was like 2000 years ago. Pretty amazing stuff. 


The garment shown here was made as a part of the fickle sense challenge number one, previously blogged here. The top is a CUT magazine pattern. I designed and made the shorts to match the top.


Photos: Michael Dooney

October 30, 2010

CHALLENGE NUMBER TWO: PART TWO

Photobucket
Photobucket
Photobucket

So this is my attempt at the DIY turban that mahaila designed here. Challenge completed. Pretty successful, I think! Now trust me when I say if I can do this, anybody can. I don't have much patience and the longest I have been in front of a sewing machine is with mahaila by my side the whole time. For this challenge, with mahaila in Germany, it was just me. This is how it started out.........

Email communications:
Mahaila: I was JUST looking at some photos of turbans, do you want the headband version?
Kaye: Yeh I reckon the headband version. R u going to keep the one u make or do I get both? Hehehehe
Mahaila: i can send you what ever I make, but you need to make one too. It's pretty simple stuff. I haven't made it yet, but it won't be difficult. 

Well mahaila over-estimated my sewing knowledge. The good news is that I learnt a few things along the way:
  1. The machine won't sew without the bobbin....... 
  2. I now know how to re-fill the bobbin in a modern sewing machine
  3. The RIGHT side of fabric means the side that you want showing.... mahaila is going to roll her eyes when she reads this, but I thought she meant "right" as in left and right (trust me, I'm not a dumb-ass, just a little ditsy at times)
  4. When mahaila said to fold it, she meant LENGTH WAYS. On my first attempt, I folded it into some stupid little tube and sewed the top then had to unpick it and start again.
  5. Measurements should be EXACT. After making my first one that didn't fit on my head, I decided to measure it properly. 
As mahaila previously mentioned, I wanted a turban made of velvet because I liked the fit and look of this one so much. So I went to the nearest op-shop and bought this little number for $4. I though I might use the skirt in an outfit and use the top for the turban.


I think you could make this out of a jersey or a stretch wool if velvet isn't your thing. And get creative! You could embellish the front (like on this Sportsgirl turban), or you could change the smaller section to a bow.

Email communications:

Mahaila: did you want a bow?
Kaye: I don't want a bow on it because, as much as I like my black one, I get called "cute" alot when i wear it and one of my girlfriends told me she "just wanted to cuddle me and play with me". So I'd like one without a bow this time.


We hope you guys have fun creating your own unique turban... and the cash you save by doing it yourself!! Please let us know if you give it a crack and send us pictures  :)

October 24, 2010

CHALLENGE NUMBER 2 ......How to make a turban / headband


OK, so this is challenge number 2.... perhaps a little later then initially planned. Our first challenge involved kaye creating an outfit around a top made by myself. This time kaye must sew a turban type head piece for herself using the DIY instructions below. 

We encourage anybody to have a go at making this piece... experienced sewer or not.... If you don't not have access to a sewing machine, hand sewing is also an good option (I used to sew by hand A LOT before I got my sewing machine. I still find myself reverting back to hand sewing at times). For information on sewing techniques (both with and without the machine) go to the Burdastyle learning section of the website.... otherwise youtube can be helpful. 

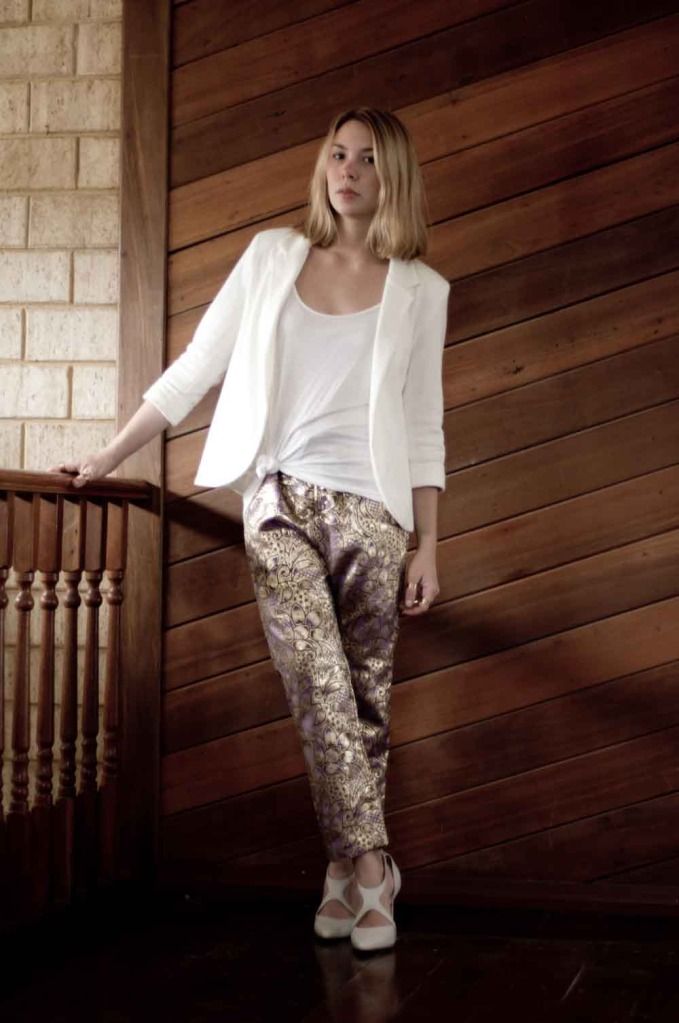
I must worn you that I definitely do not pretend to be an expert... so perhaps these dimensions/techniques won't work for you.But as you can see by the photos, it did fit my head.


What do you need?
* FABRIC - suitable for a headband. Kaye had previously mentioned that velvet is a good option as it is more likely to stay on your head. Though velvet can be difficult to work with (info sewing with velvet). You also need to consider the grain of the fabric. You need to make sure that the fabric has some stretch in it so that it can fit on your head. Test your fabric by finding the lengthwise grain (more information on grains here)

We need 2 rectangle shaped pieces of fabric measuring
Bigger section  - 22 inches (58.5 cm) x 10 inches (25.5 cm)
Perhaps measure your head first then use this measurement add 2 cms (on every side... this is the seam allowance).
Smaller section -  3.5 inches (9 cm) x 4.5 inches  (11.4 cm)
* Needle
* Thread
* Enthusiasm! Creativity (make one with a badge at the front instead or a bow!)


 1. I chose to buy a velvet top from a second hand store, Alexander Platz (Humana


2. Cut out the large rectangle (includes the 1 cm seam allowance)


3. Fold the right sides of your fabrics together and pin the top section (leave a 1 cm seam allowance... as shown in the photo). 


4. Sew straight across the top with a 1 cm seam allowance.

 5.  Turn your fabric inside out so that the right side is on the outside.

 5. Then make sure that the seam (which you just created) is facing upwards.
 6. Now we need to create the front section of the turban.
 7. Sew this smaller piece like the bigger version. 1. right sides together, 2. sew the seam 1 cm seam allowance. 3. turn the rights sides to the outside

 8.Bring the 2 ends together. You can either finish like the bigger section (e.g. sewing so that you don't see the seam). I chose to bring the edges together with a zig zag stitch. (If you don't want the small section to be so big on the finished headband sew a 1 cm seam or make take a cm or so off the initial small rectangle)

9. Now slip the small ring onto the head band. Make sure that the 2 seams on the 2 pieces are in alignment (we don't want to see any seams on the finished garment when it is on your head, so all seams need to be on the inside).


10. If you are happy with the width of the small section on the big section, you can bring the big ends together. Start by bringing the 2 seams together (so that we don't twist the garment) putting pins in with a 1 cm seam allowance. Work your way around until you are no longer able to continue (you will get to a point where you have a gap where you can not pin or sew.... we need to sew this section later).  Take out the initial pin that you put in (the one over the seam) so that you can continue further around. We want the seam section to be in the middle of where we hand sew.... this is the underside of the garment (aka the ugly seamed section... we want all of this to be in one area so that it is not visible when we wear the headband... I hope this makes sense???).


11. Now sew the pinned area with a 1 cm seam allowance. Then finish with a zig zag stitch on the end. 

  
12. Now pull the fabric to the outside, like shown here. You should have a small section left which we need to hand sew with a blind stitch. Before wearing make sure all of the seams are not visible. Pull them to the inner side.

Now you should have a new turban/headband to wear!

Let us know if you have made one. We would love to see it! Don't hesitate to ask questions. 

Good LUCK! Viel Spass!


August 31, 2010

CHALLENGE NUMBER ONE


(Top: CUT - Shirt Matilda design, made by mahaila. Skirt: Temt. Shoes: Topshop. Turban: Sportsgirl)


(Top: CUT - Shirt Matilda design, made by mahaila. Shorts: designed and made by mahaila)